Play dough is such a great activity for kids. They can squish it and roll it, mold and sculpt it…transform it into a rainbow popsicle – the possibilities are endless!
I am excited to share this Play Dough Popsicle Activity with you today. Your kids are just going to love it!
 Play dough is such a fun way for kids to use their imagination during play. It’s even an excellent activity to strengthen the muscles in their little fingers which is so important as they start learning how to hold a pencil and write.
My daughter is eight and she still loves to pull out her huge bin of play dough and starts creating. Last week, she found a bunch of popsicle sticks and got straight to work making some play dough popsicles!
She wanted to trace things out, so I created this quick popsicle template to be used as a guide. Grab a copy here: Popsicle Template
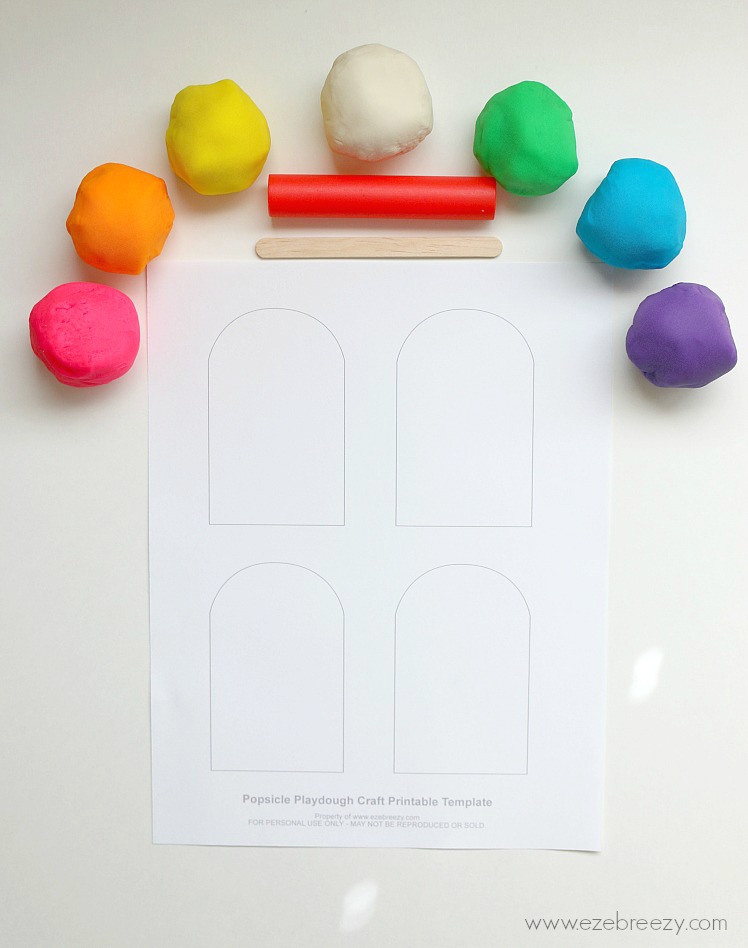 Making this adorable rainbow popsicle out of play dough is so easy. This activity is bursting with photos…I hope you don’t mind. I wanted to be sure you had a clear idea of how to put things together.
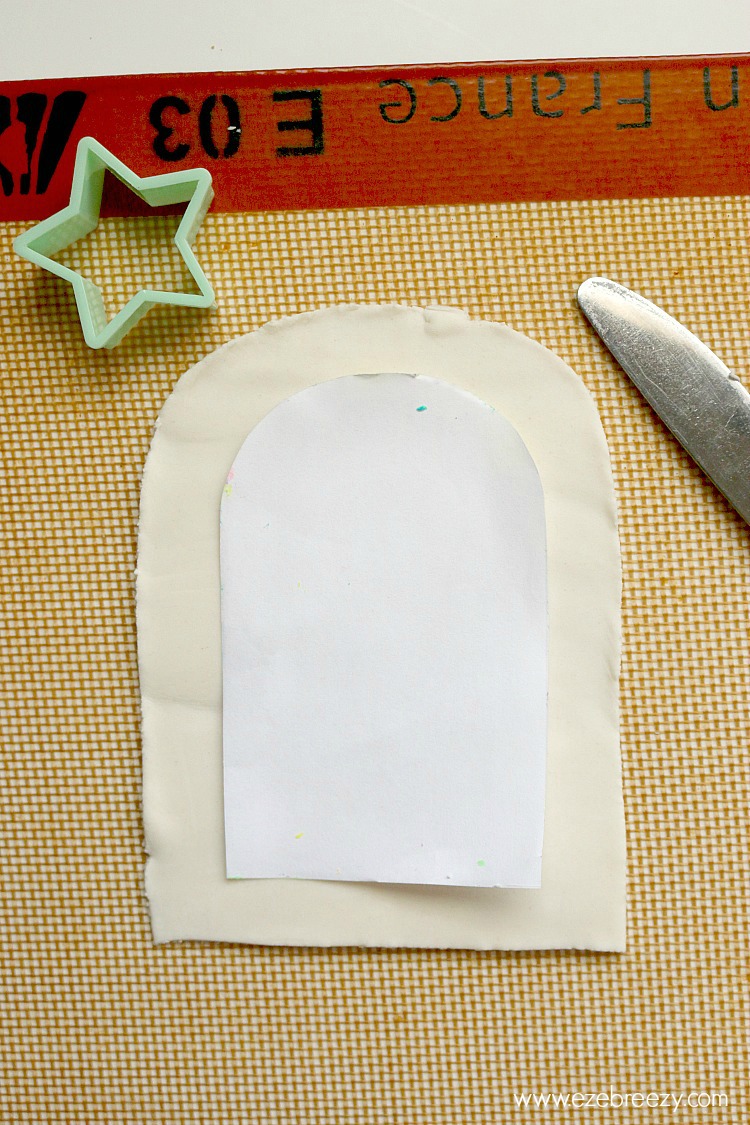
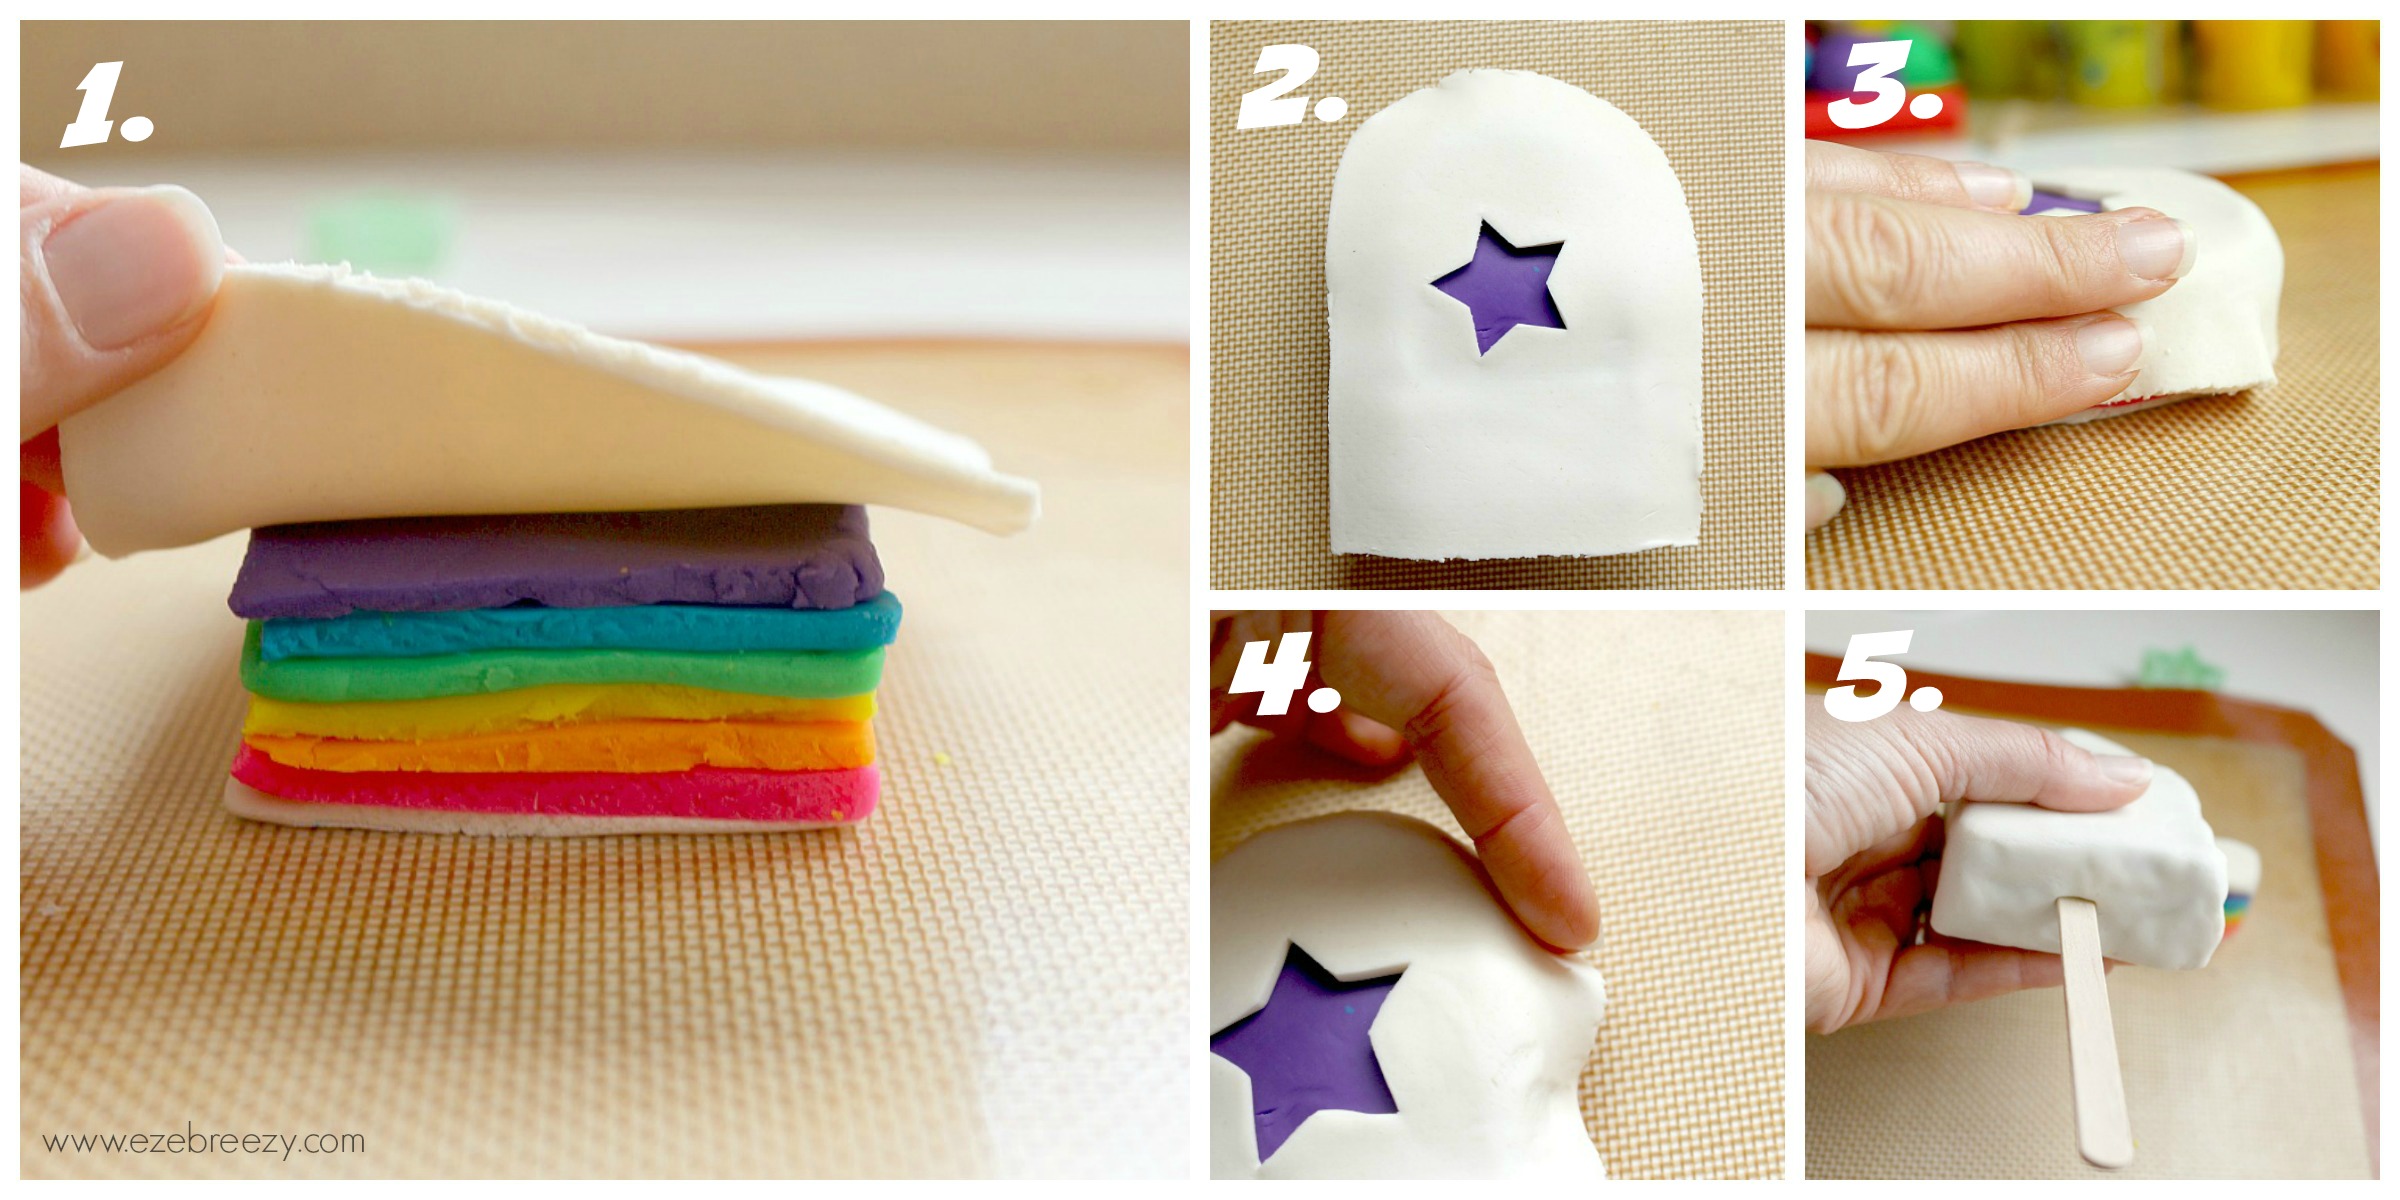
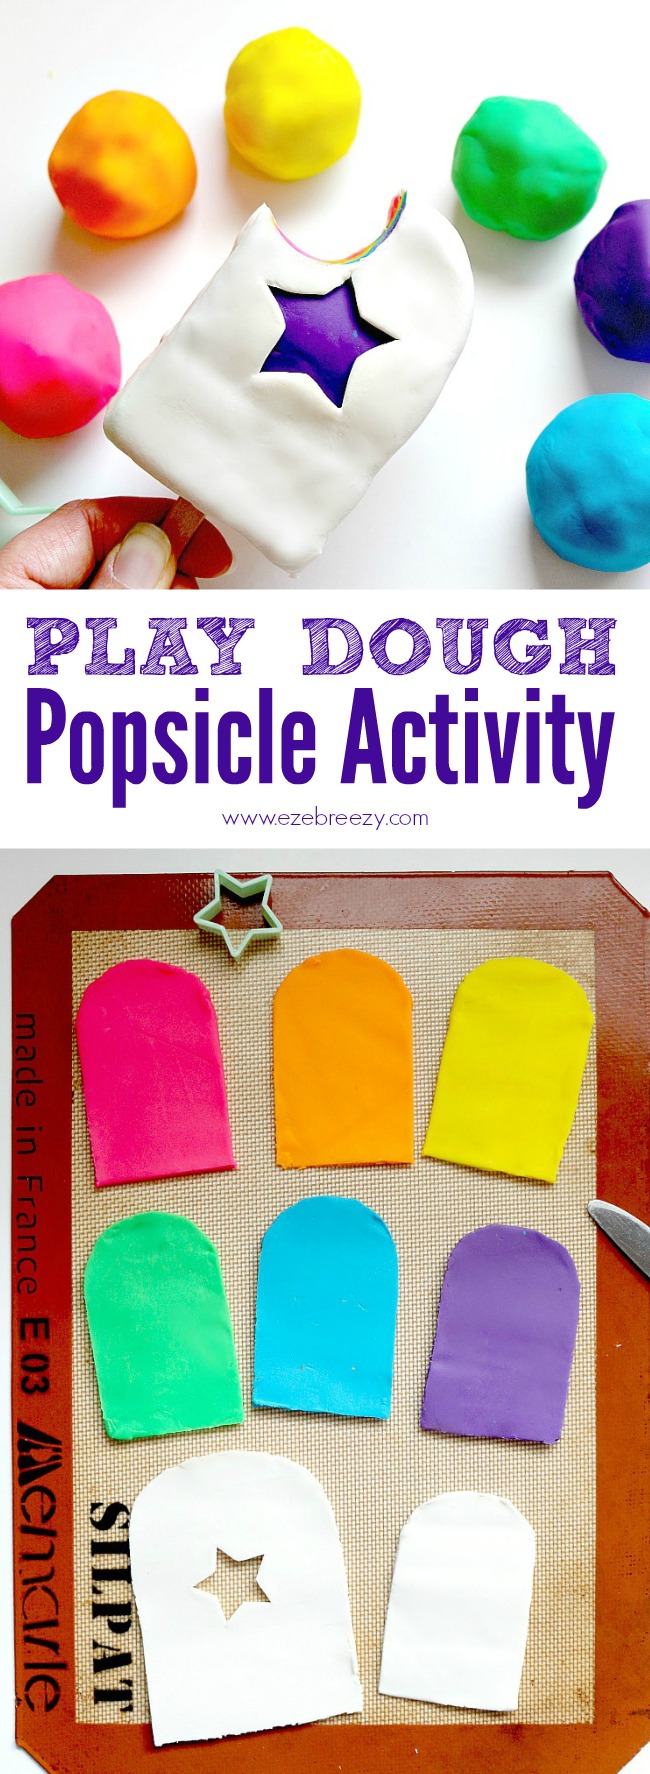
Start by rolling out the play dough to about 1/8″ thick, and then laying the template on top as seen in step 1. Use a plastic knife to cut around the outside of the template (see step 2 below). That’s it! Steps 3 and 4 really aren’t steps; they just show you what things will look like.
If you are making a rainbow popsicle, repeat these steps with each color play dough you will be using. If you are making a single color popsicle, I suggest rolling the play dough a bit thicker, at least one inch.
 You will need two pieces for the outside. Cut one that is the exact size as the popsicle template.
For the second piece, lay the template on top of your play dough and trace one to 1 to 1.5″ around the template. This will ensure you have enough to reach all the way down the sides.
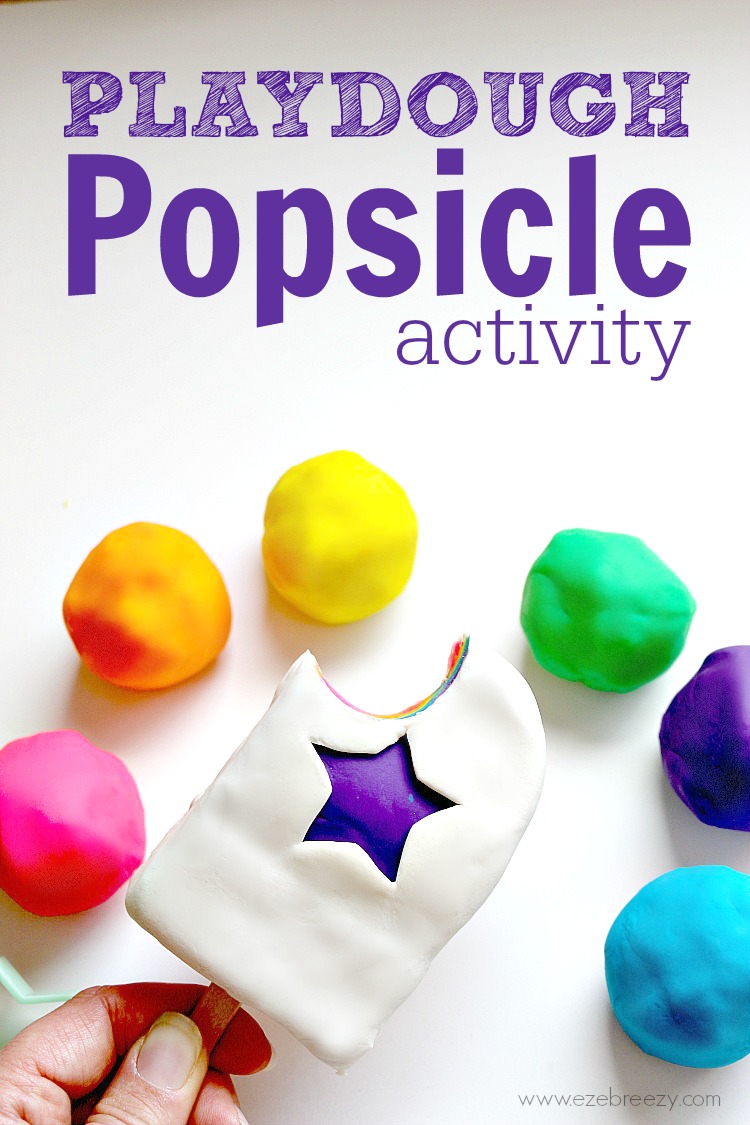
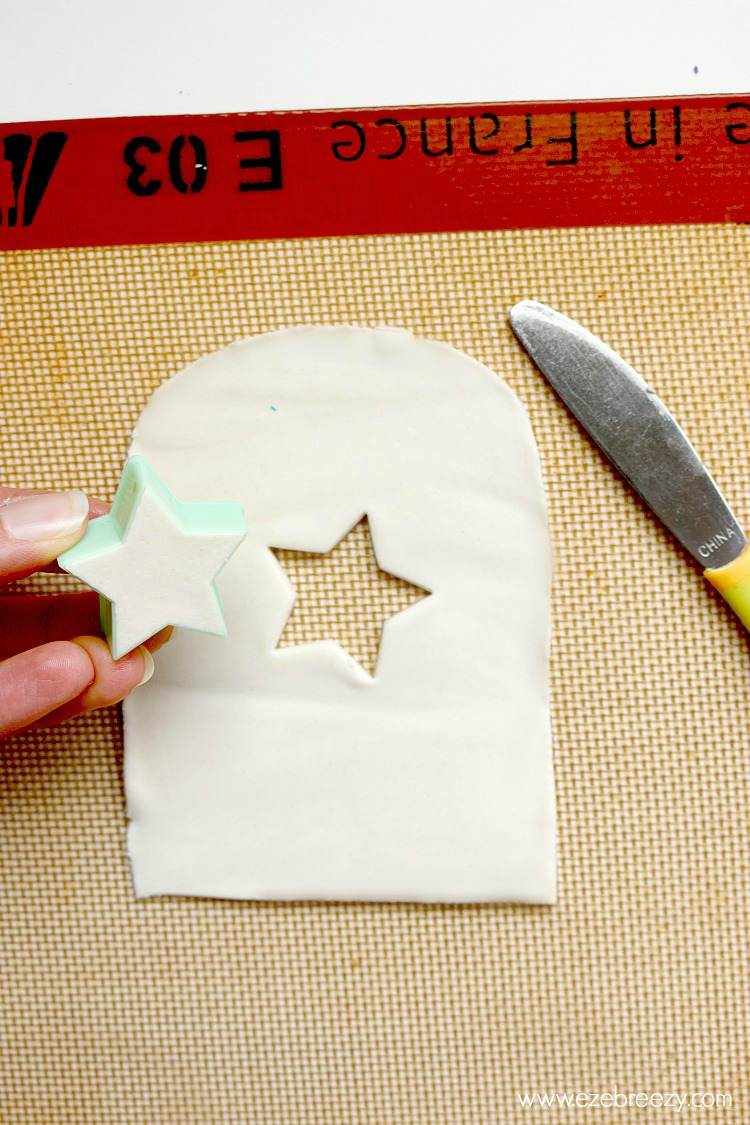
 We punched a cute little star in the middle of the outside layer so that some color shows through. Any little cutter works great!
 Once you have cut all the colors, it’s time to start putting it together.
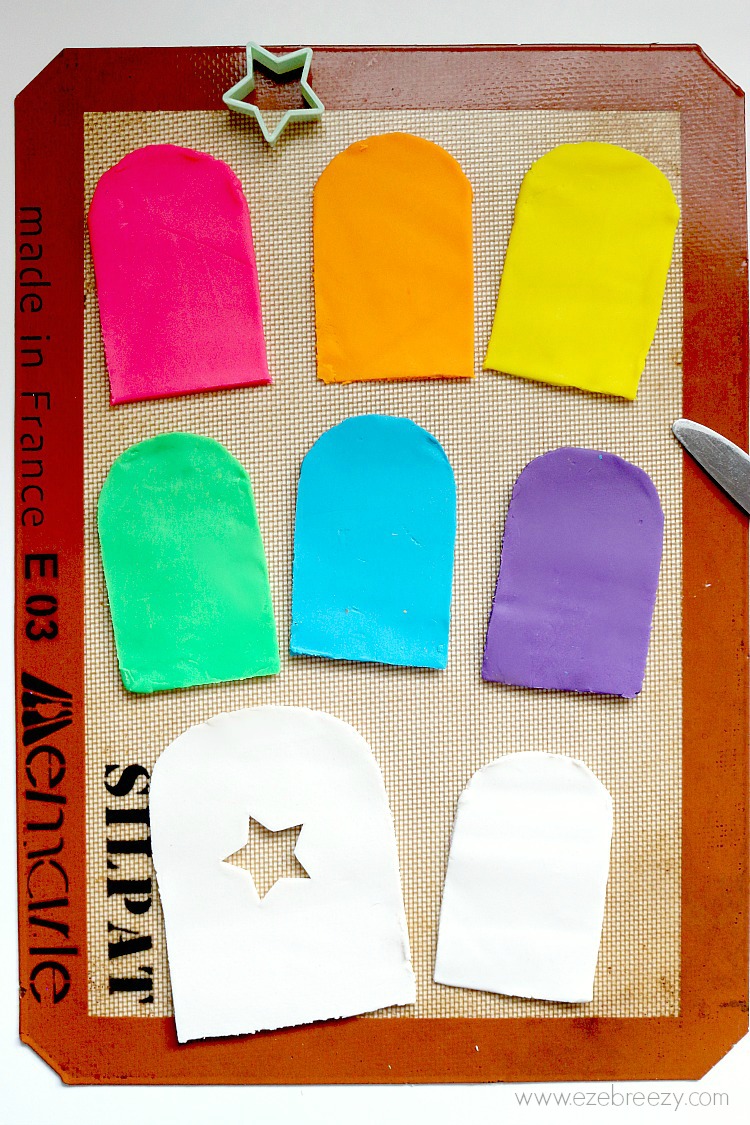 Simply layer each color of play dough on top of one another, lining them up around the edges as much as possible.
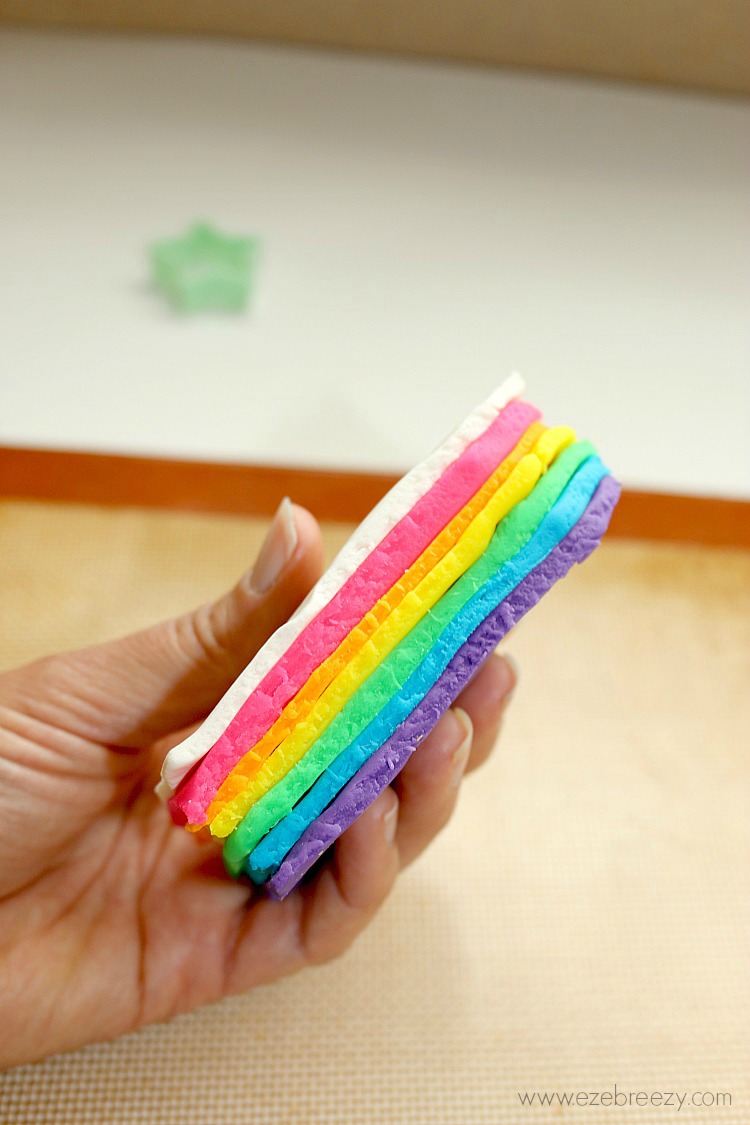
Next, lay the larger piece of play dough on top of stack. Slowly work the play dough around the sides of the popsicle until it touches the bottom layer. Pinch the edges together and insert a popsicle stick.
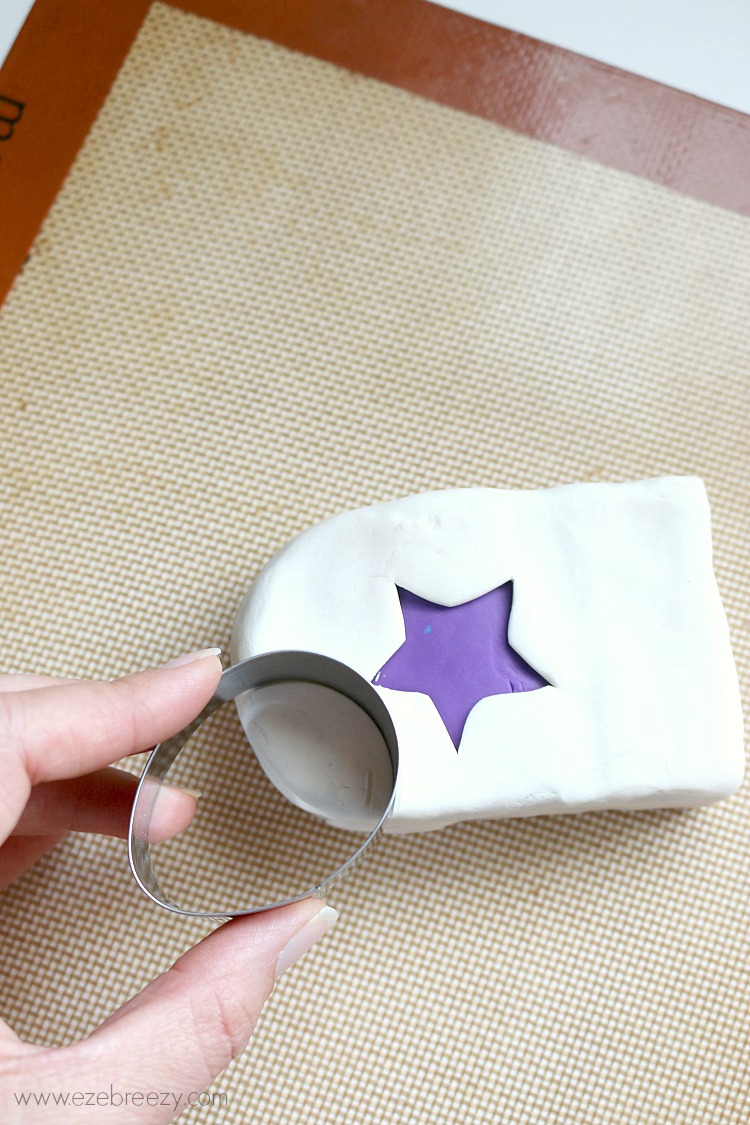
 For that added touch, take a bite out that popsicle! Okay, not literally. Find a small circle cutter or even a cup and cut out a small corner of the popsicle to expose the fun rainbow of colors inside.
 Ta-da! So fun!
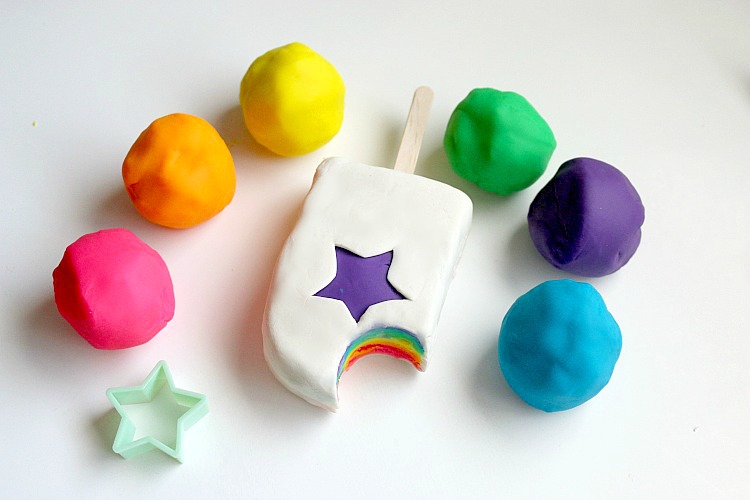 This Play Dough Popsicle is the perfect play dough activity for kids! Use different color play dough…add fun decorations and sprinkles to the outside….the popsicle possibilities are endless!
Pin For Later!
Looking for other fun craft activities? Check these out…
