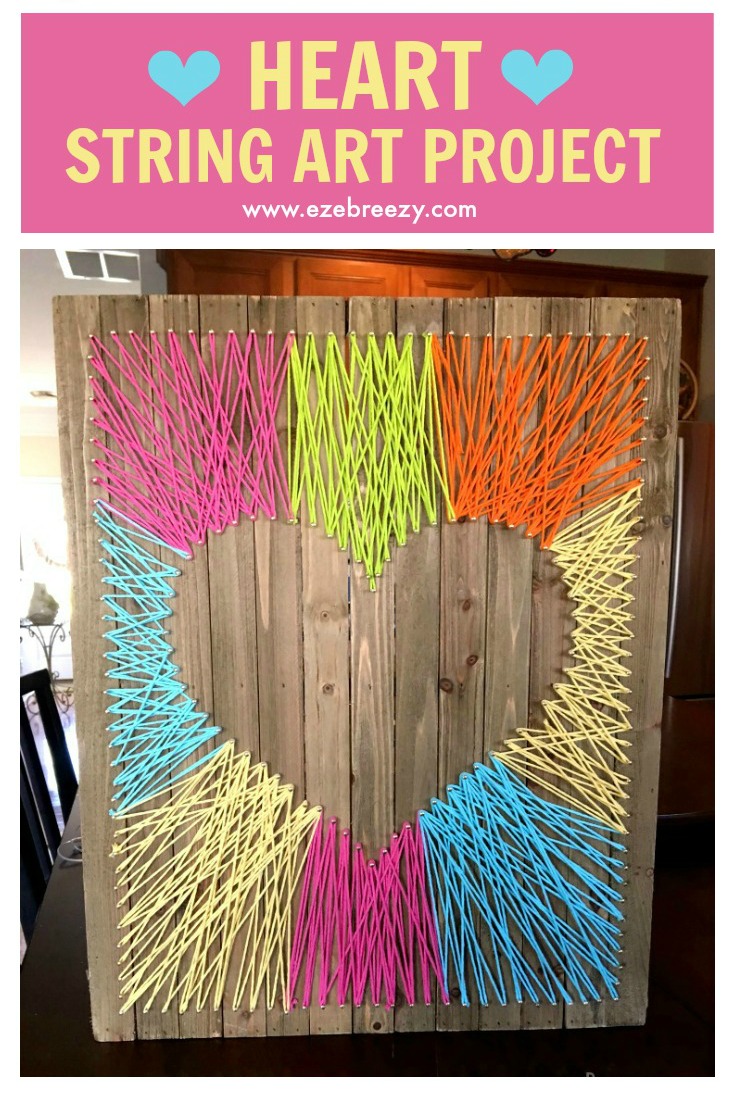
This adorable Heart String Art Craft is so easy and fun to make and adds the perfect pop of color to any wall. I am so excited to show you how to make it today!
This post contains affiliate links.
There is this blank space on a wall of my daughter’s bathroom that has been haunting me for months. I have been searching high and low for the perfect thing to fill this blank space but nothing seems to be working. Nothing.
All of my favorite “go-to”stores just couldn’t deliver this time, so I decided to get crafty and make something myself.
After searching and searching for inspiration, I found the PERFECT project here; I can’t wait to share it with you!
We have light walls in our house, so I needed something that gave the bathroom a great pop of color, and this heart string art craft was everything I was looking for. Here’s what you need to get started…
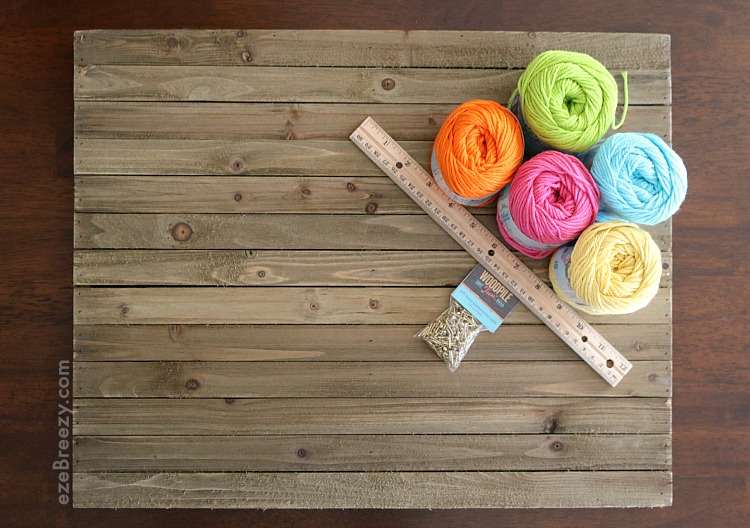
What You Need For Heart String Art Craft:
- Yarn(cotton or acrylic) – quantity and colors of your choice
- Decorative board – I found this one at Hobby Lobby
- Ruler
- Pencil
- Hammer
- Blue painters tape
- Small nails
- Heart stencil (download here or create your own)
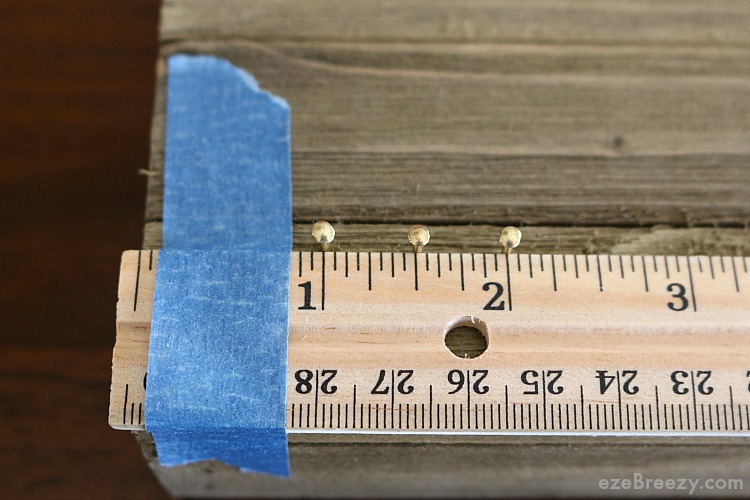
To start, line a ruler to the edge of your wooden surface and secure with painter’s tape. I used the ruler so the nails would be evenly spaced but you can certainly eyeball the spacing if you prefer. I spaced my nails a 1/2-inch apart.
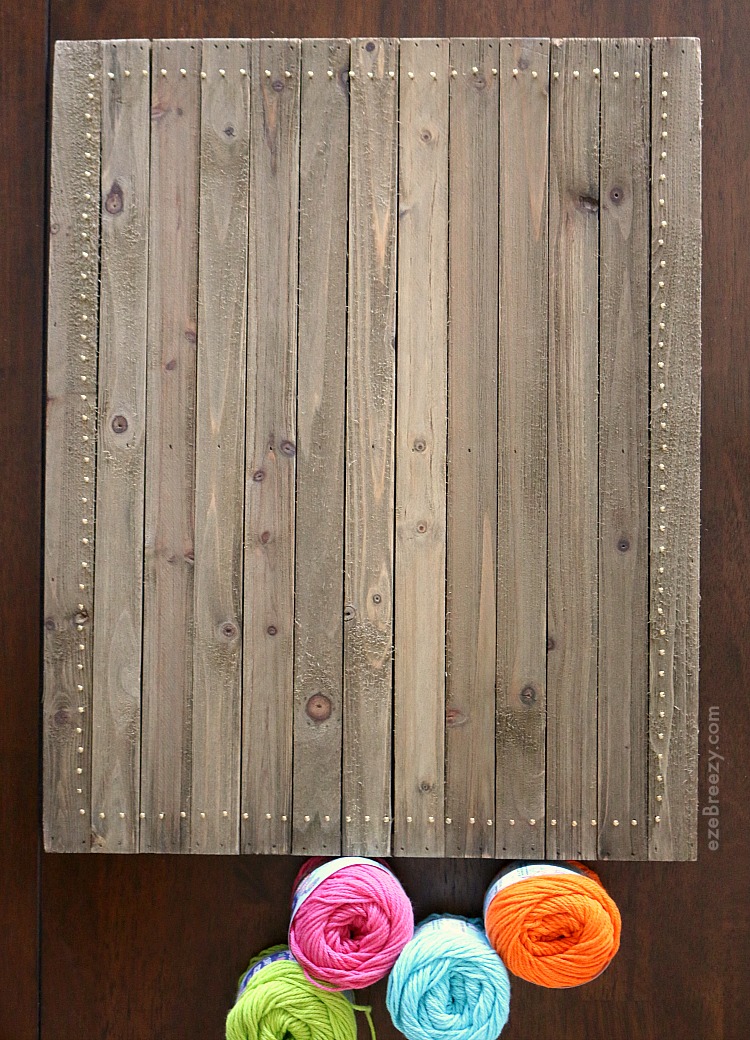
Hammer the nails along all four side of your board. And as you can see…my rows have a bit of a wave to them; don’t worry about that at all. It adds character and honestly, once you get the yarn added, you don’t even notice!
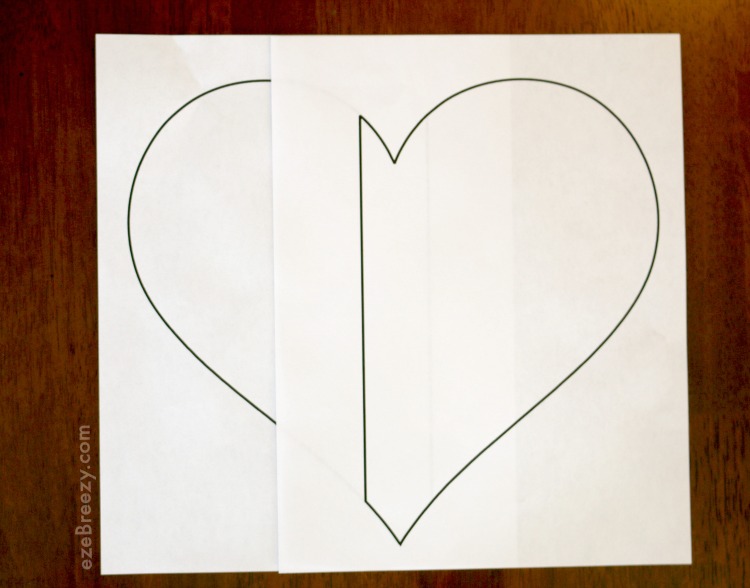
I decided to use a heart for my string art craft but you certainly can use any shape you wish. If you’d like to do a heart, feel free to use this template for your project. Just grab it here.
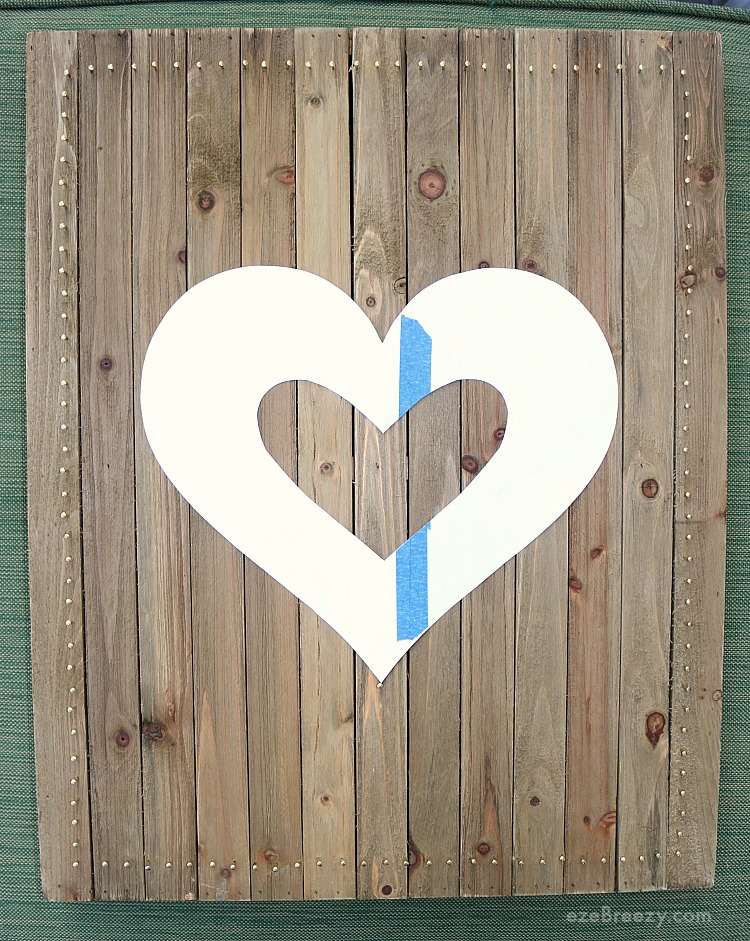
After some experimenting, I decided to cut another heart out of the center of the heart template because it gave me a better place to use tape to secure the template to the board. I started by taping around the outer edge of the heart template, but then I quickly changed gears because the nail was going through the tape in order for me to keep my spacing correct. It was just a PAIN having to pick the tape out from around each of those time nails. Cutting out the center of the template gives enough area to attach the template securely.
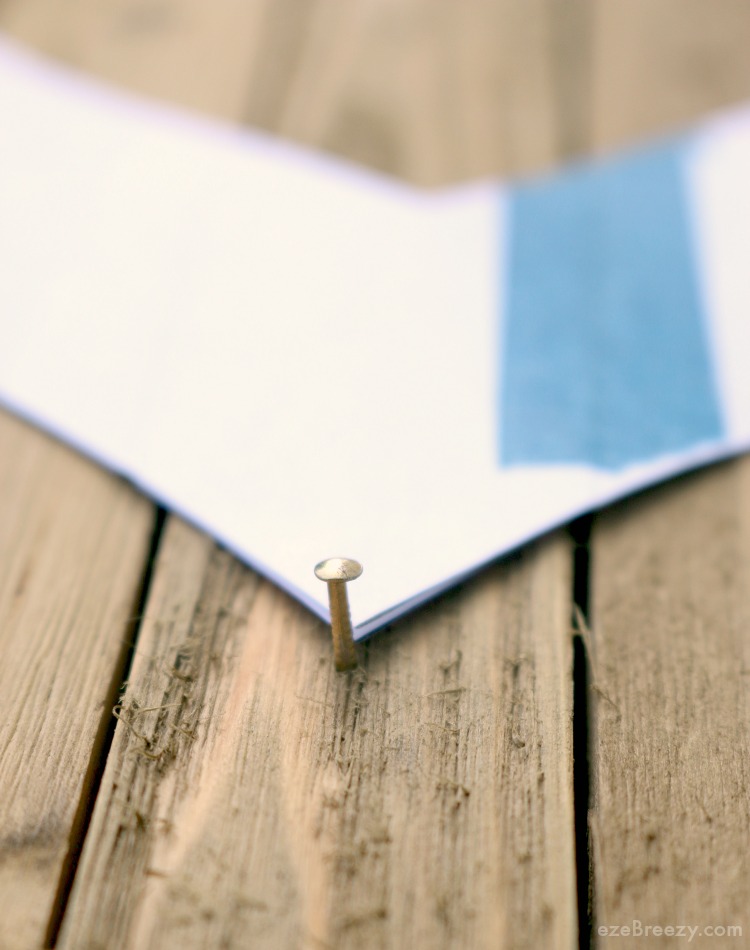
Start at the bottom center of your heart and work your way around. Keep the ruler handy so that you can make sure you are keeping the distance between the nail even, about 1/2-inch.
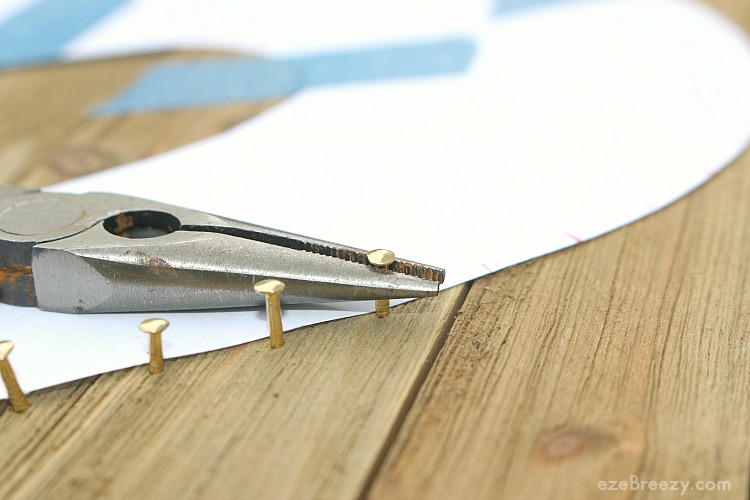
If you find yourself struggling to hold that tiny brad nail without slamming your finger with the hammer, grab those handy needle nose pliers and use them to hold the nail in place. Works link a charm!
I am not going to lie! Hammering those tiny nails took a bit longer than I expected. The great thing about this sting art craft is that you can stop at any time and take a break without losing your place or messing things up.
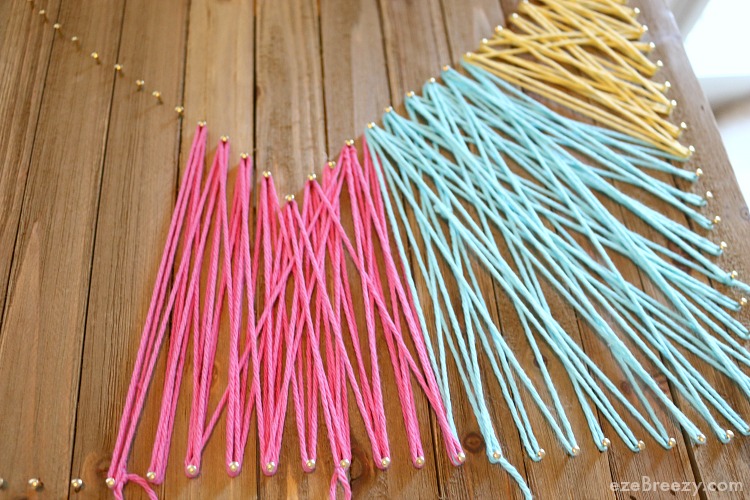
Now on to the fun part…adding the yarn! First decide your color pattern. I went for pink, blue, yellow, orange and green. To start, take your first color and attach the yarn to the nail using a square knot. Then, simply start wrapping the yarn around each nail head. I decided to do a crisscross pattern (which was really more like random weaving than a pattern) but you certainly can use a simple up and down weaving pattern as well.
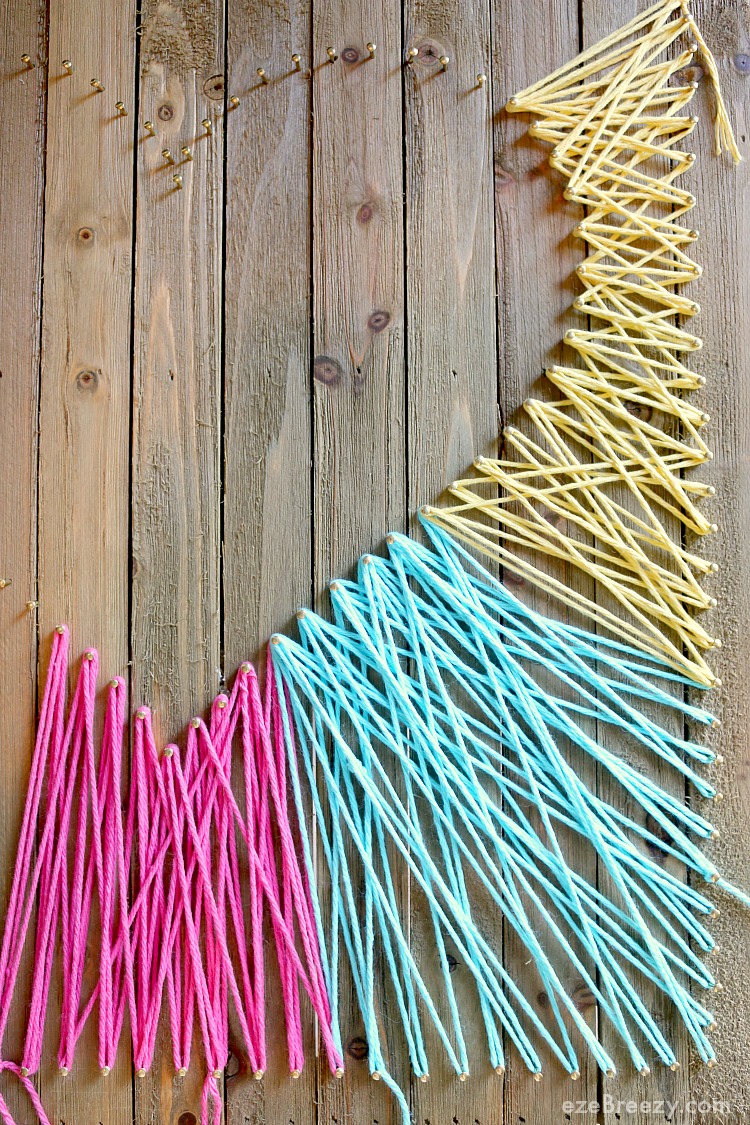
Step back and evaluate every few minutes so that you can decide when to switch to the next color yarn. I didn’t count nails or anything to make sure each section was even; I just eyeballed it. The key is to stop every few minutes and see how the pattern is coming along.
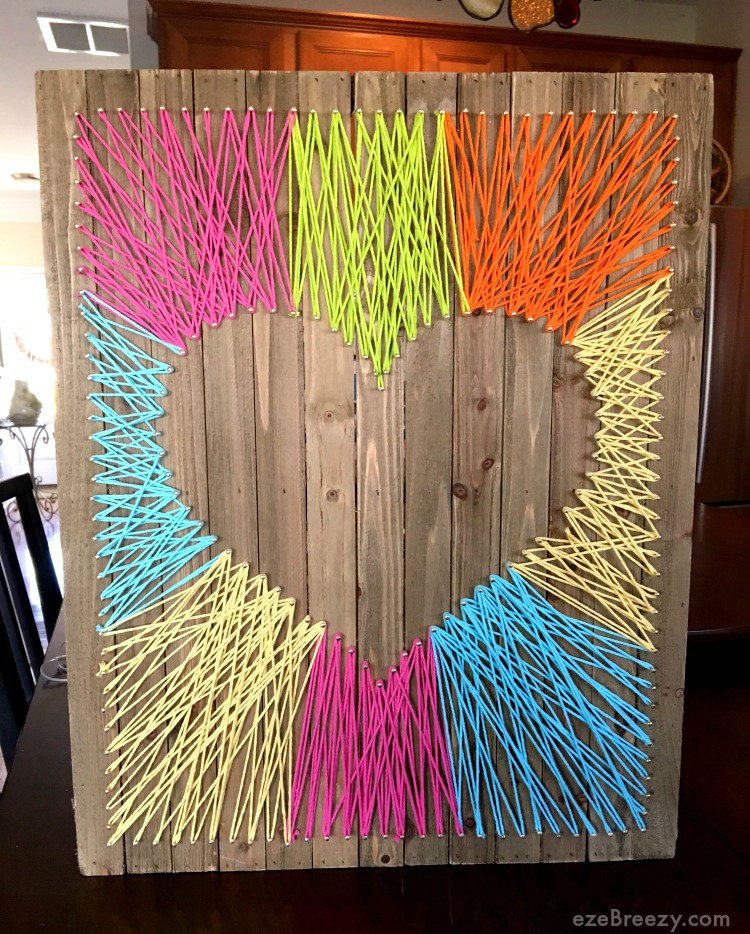
Voilà! One finished Heart String Art Craft ready for hanging. I used my favorite 3M Command Picture Hanging Strips to hang it on the wall. No more blank wall space just an adorable fun DIY string art craft that added the perfect pop of color.
Happy crafting!
Thank you for giving directions for project.
I am so tired of seeing something I would like to make and guess what on instructions.
You are so very welcome! I hope you enjoy the project:)