There are a lot of puffy paint recipes out there but this 3-ingredient DIY puffy paint for kids is by far our favorite and I can’t wait to share the reasons!

I am always on the hunt for easy DIY projects to make with my daughter. Since painting is a huge activity in our house, I wanted to find a fun paint recipe that used common ingredients everyone has at home and was easy enough for kiddos to mix up all by themselves.
After scouring the internet, I found a 3-ingredient DIY puffy paint recipe via The Artful Parent that seemed to be exactly what i was hoping to find. It only required 3 simple ingredients, it was easy enough for my daughter to mix up and as bonus – it didn’t require the use of a microwave. So we set out to put this puffy paint recipe to the test.
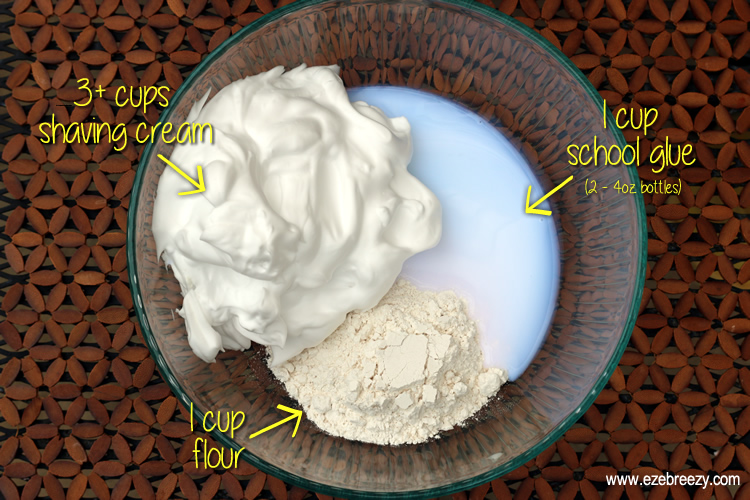
Ingredients for DIY Puffy Paint:
- 3+ cups of foam shaving cream
- 1 cup of all purpose flour
- 1 cup of school glue
* You’ll also need ziplock-style sandwich bags, small mixing bowls, food coloring or paint and paper — heavier paper works best such as poster board, heavy construction paper or paper plates. My kiddo loves painting on paper plates!
DIRECTIONS
1. Measure out the first 3 ingredients into a large mixing bowl.
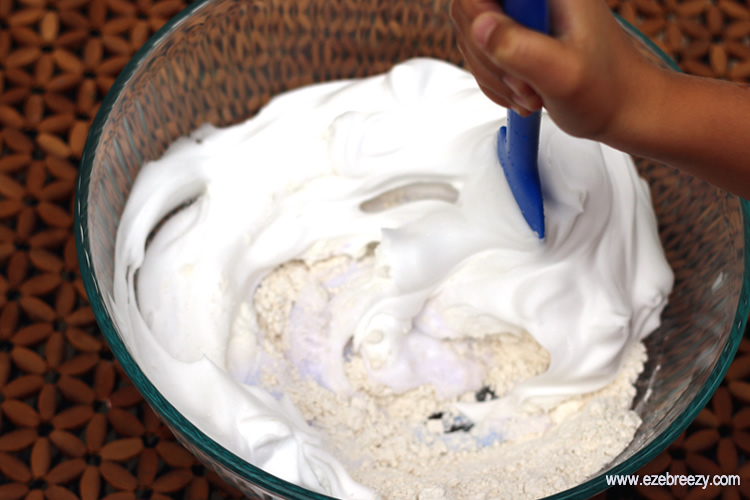
2. Mix the shaving cream, glue and flour with a rubber spatula or spoon. Be careful to not over mix – you want to see bubbles in the mixture.
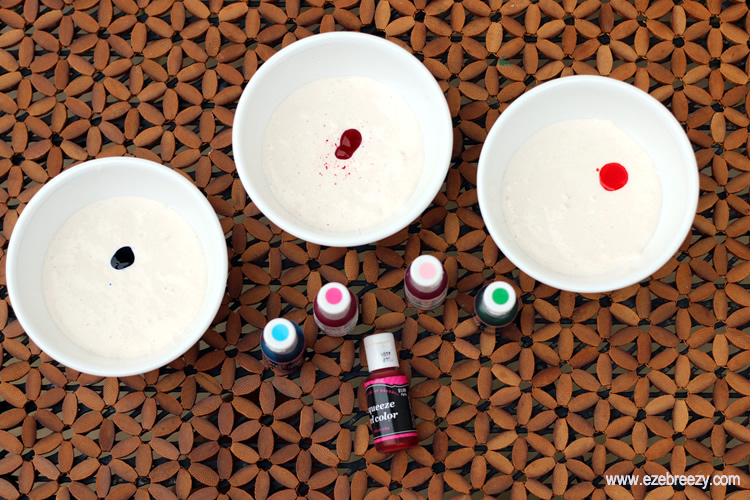
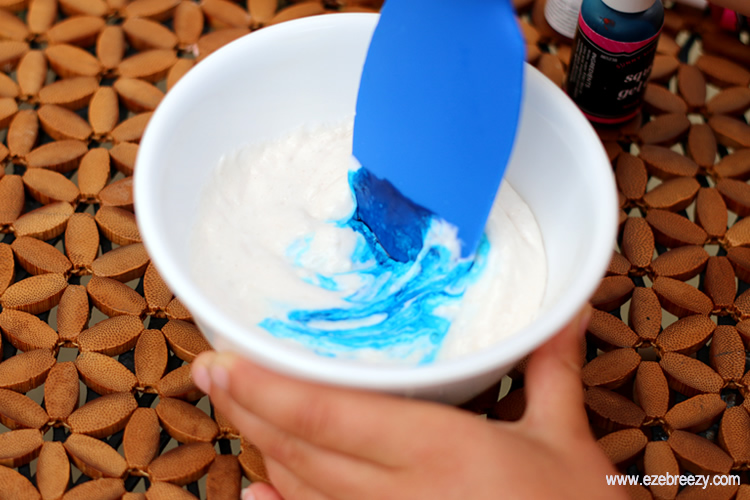
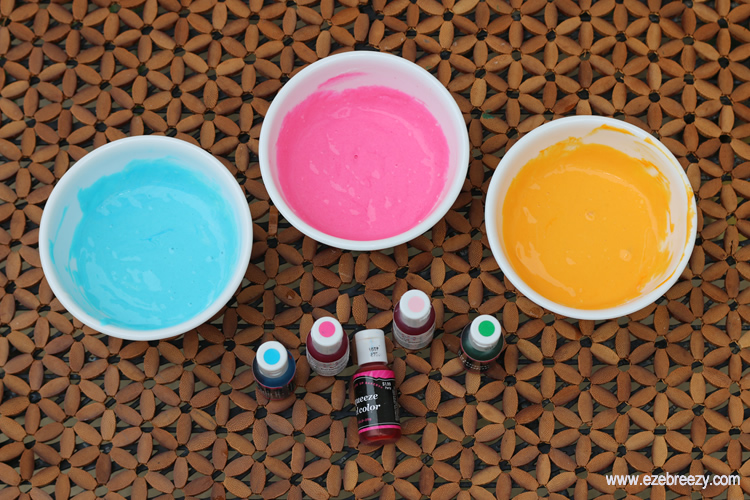
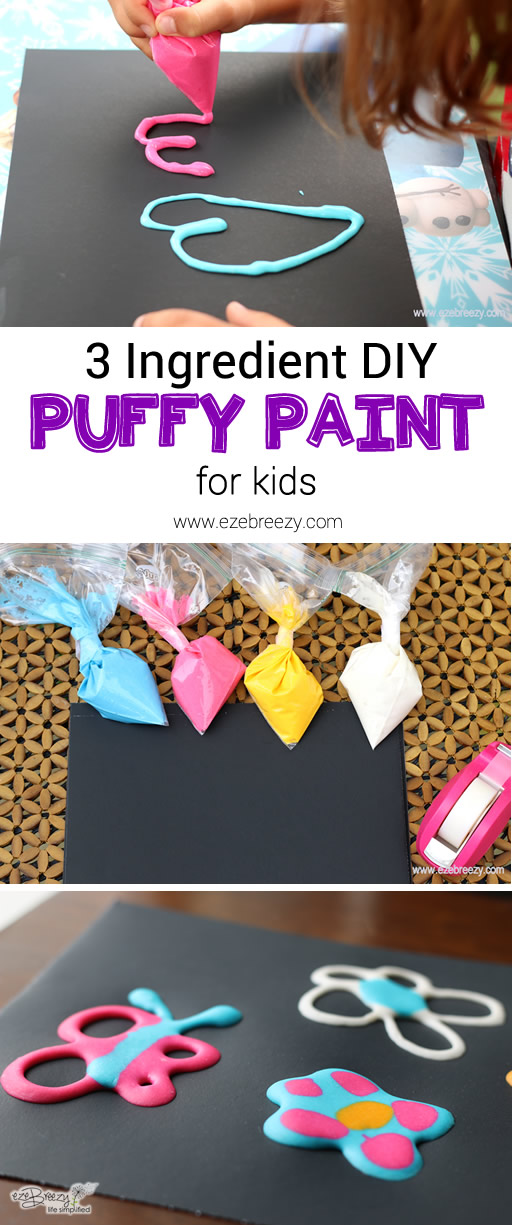
3. Divide the DIY puffy paint mixture into separate smaller bowls to add your food coloring or paint. Start with a small squirt of coloring and mix thoroughly. Don’t forget to keep some white puffy paint on hand!
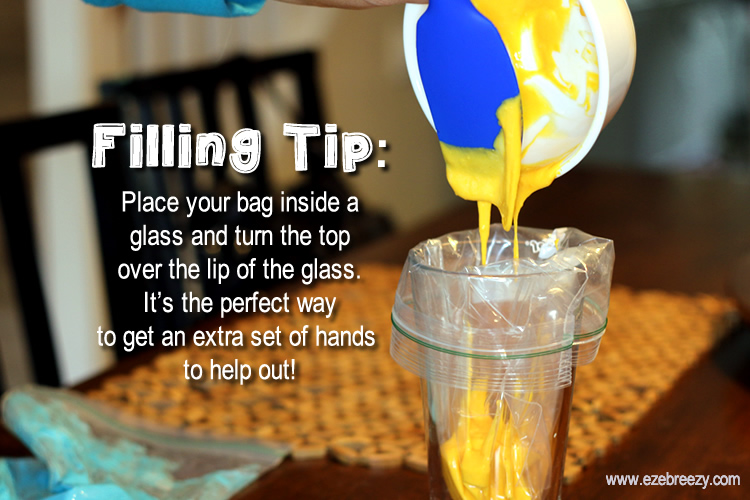
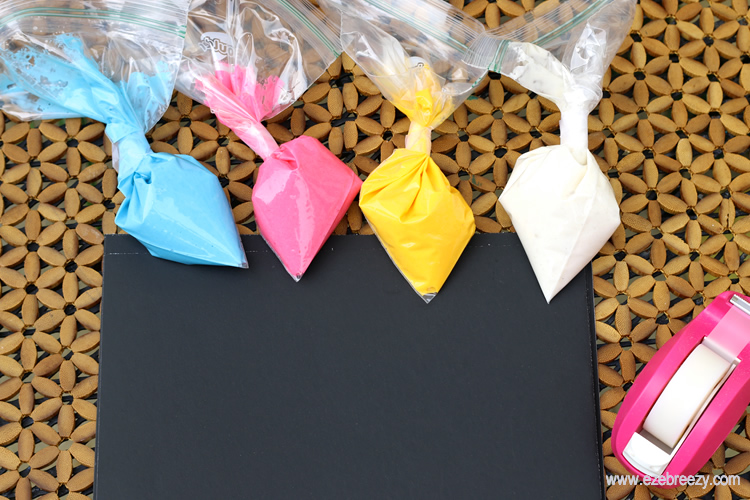
4. Spoon the puffy paint into the sandwich bags. To make filling the bags easier stick your bag into a cup and turn the sides down over the lip of the glass. I use this all the time when filling pastry or icing bags and it worked perfectly for this paint project. Next, seal each bag (The Artful Parent had a great tip here – add some duck tape to reinforce the seal just in case you have a vigorous squeezer on you hands!) and cut a tiny hole in the corner. I didn’t have any duck tape on hand so I just used some regular scotch tape and it held up just fine.
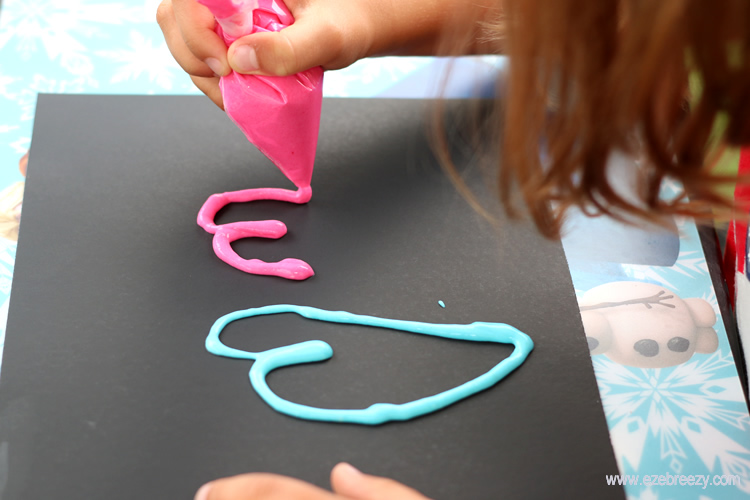
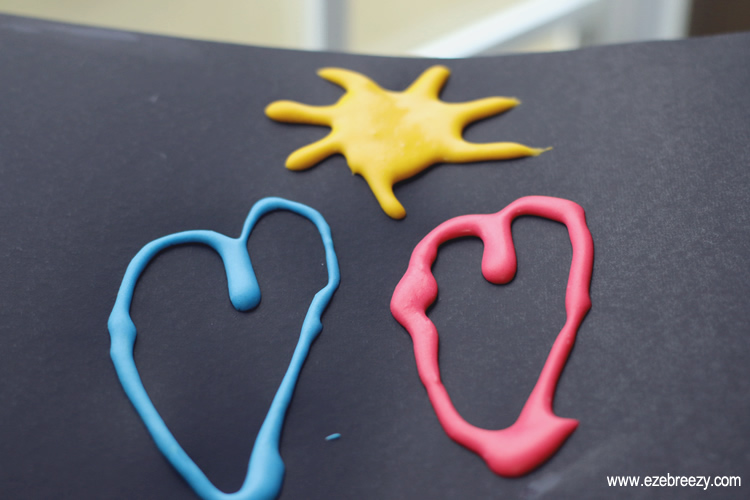
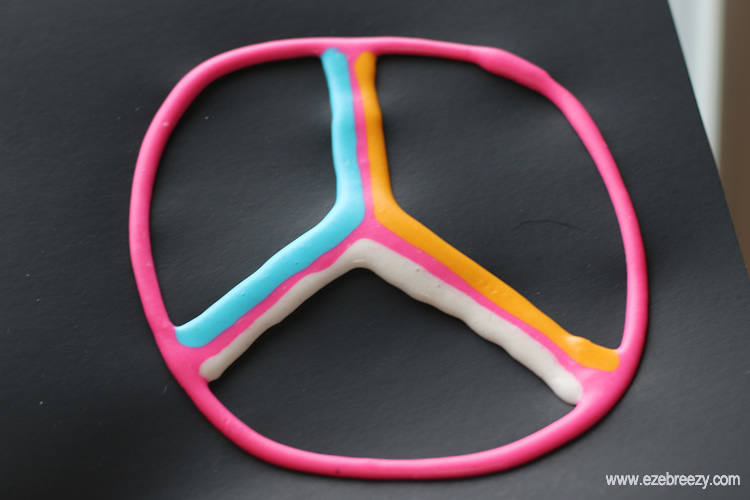
5. Now it’s time to have some fun! Squeeze the puffy paint through the small hole and paint away! Draw pictures. Makes dot and lines. Just use your imagination.
6. Let your designs dry overnight. The paint actually puffed up even more after sitting overnight which we loved.
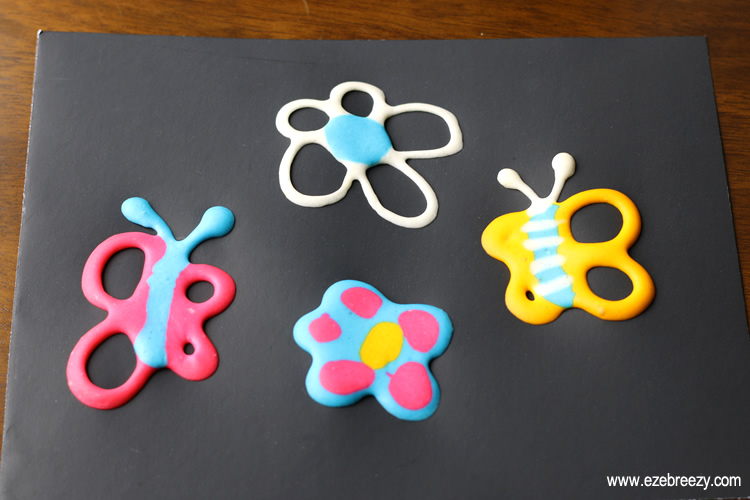

 The Verdict…this DIY puffy paint recipe is by far one of our favorites. I loved that it only used 3 ingredients, all of which I had at home. It was very easy to mix up the ingredients and incorporate the color.
We used food coloring this time around only because I had a wider variety of color options on hand. You can also use Tempura Paint which also works out great and a little went a long way. I definitely recommend The Artful Parent’s recommendation of reinforcing the bag with some tape. It’s just a great way to ensure you don’t experience a child meltdown in the middle of what is supposed to be a fun activity all because of a busted bag and overflowing puffy paint!
The paint was very easy to work with and after the designs dried overnight, the paint actually became even puffier!
This DIY puffy paint recipe is definitely a keeper and I know you and your little ones will enjoy it as much as we did!
Do you have a favorite DIY puffy paint recipe?
Pin it for later…
I have been wanting to make some of this for my kids. Looks so much fun. Thanks for sharing with us at Family Joy Blog Link Up Party this week. I hope you join us often 🙂
When you make the puffy paint make a paper funnel and put the peanut in the glue bottle
Ooh, love the colors! Going to have to give this recipe a try!
What a great idea! So glad to have connected!
Thanks Sarah!
I haven’t seen a recipe for this before. No idea why but the colors are awesome and it looks so easy to make. I had to share Thanks.
How can i store this paint so we can keep the leftovers without it drying out?
Hi Rebekka! Thanks for asking about storage. We typically use this paint from a zip-closed bag like you see my daughter using in the pictures. When she is finished painting, I just twist and fold over the cut end of the bag and either use a twist tie to close it off or plain old scotch tape. Then I store all the colors in an air tight container. If the bags get messy with paint on the outside, I simply squeeze the paint into a new bag the next time we are going to paint. Hope this helps and thanks again for stopping by!
Could u put this paint in a squeeze bottle like the ones u use for royal icing ?
Hi Candy. Yes! You definitely can. Those bottles are a great way to use this paint. Very easy for little hands. Thanks for stopping by!
HI is this paint liftable after it drives? Just curious
Great question. I’ve actually never tried it. Please keep in touch if you try and let me know the results. Thanks for stopping by!
This looks great! How long does it last? If I would make the paint a day ahead, then let my students mix the coloring in the next day, would the paint still be puffy?
Hi Julie! I’ve made in a day in advance and stored it in an airtight container. When I did this, I actually placed a layer of plastic wrap over top touching the paint just to be extra safe. Is this necessary? Maybe not but it was an easy added step that I didn’t mind doing. I hope you and your kiddos have fun. And please keep me posted on how it goes! Thanks:)
Hi
Is it self raising flour or plain/ all purpose flour?
Thanks
AP flour! Thanks for asking. I’ll update the recipe to clarify. THANKS!!
What do you do with the shapes that have been made with this paint? Will they stick to the window?
Hi Carol! Thanks for reaching out. We typically use the paint on paper. I have not tested it as as window cling – love the idea. You could try and paint it on wax paper, let it dry, and then test it on a window. Keep me posted and thanks for stopping by ezeBreezy:)
Will this recipe harden if left out? Would like to use it in shadowboxes to form snowbanks and clouds.
Hi Patty. The dough will harden but not to the degree that a baked clay would. I would say do an overnight test and see if it would harden enough for your project. If it is in shadowboxes, it may harden well enough…but I would ask that you please do a test first. Thanks for reaching out!
OK, will do.
Thank you!